September 7, 2019Let’s say you need to free up some space on Ubuntu — how do you go about it? Unlike Windows,…
 November 21, 20185 Simple Ways To Free Up Space on Ubuntu A bit of maintenance can make heaps more room Scott BouvierUpdated 9…
 October 16, 2018Written by Martins D. Okoi Nativefier is a CLI tool that easily create a executable desktop application of any website…
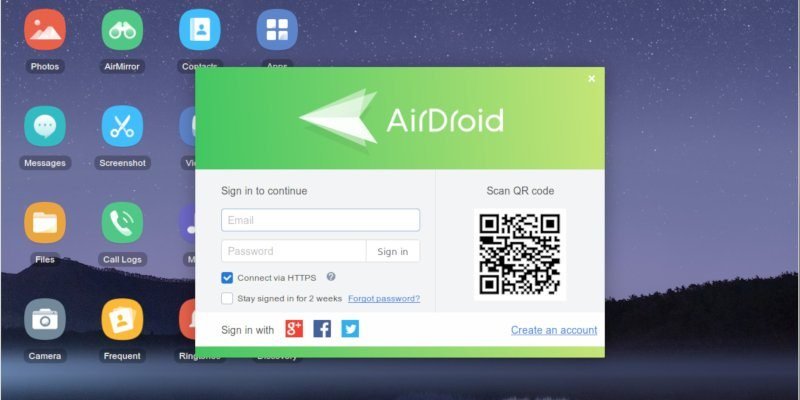
 September 13, 2018Airdroid is a unique and useful application that lets you transfer files, send SMS messages and control your phone through…