October 16, 2018Written by Martins D. Okoi Nativefier is a CLI tool that easily create a executable desktop application of any website…
 September 21, 2018Objective The objective is to install Paperwork on Ubuntu 18.04 Bionic Beaver Operating System and Software Versions Operating System: - Ubuntu…
 September 21, 2018Encryption is the best way to protect your important documents personal info and other credentials. Suppose, you have a USB…
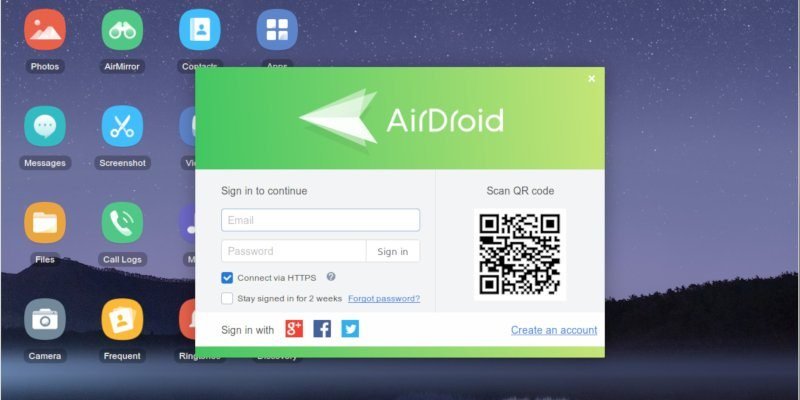
 September 13, 2018Airdroid is a unique and useful application that lets you transfer files, send SMS messages and control your phone through…
 June 8, 2018Flatpak, the open-source Linux application sandboxing and distribution framework formerly XDG-App, received a new major update that brings lots of…
 May 25, 2018Modern Linux distros are designed to appeal to a large number of users who run modern hardware. As a result,…
 November 15, 2017Restore Corrupted USB Drive to Original state Restore Corrupted USB Drive To Original State In Linux Many times our…
 November 15, 2017Looking for a quick, easy, and secure method to protect your files? Well, there is a simple shell utility called “Cryptr” that…
 October 27, 2017Brief: Here are the essential things to do after installing Ubuntu 17.10 in order to give you a better and smooth experience…
 October 26, 2017Deploying a honeypot system on your internal network is a proactive measure that enables you to immediately detect an intruder…