- May 9, 2018Ubuntu Quick Setup Follow these simple steps to start using Flatpak Link to Apps Link to Flatpak Doc's 1 Install…
 May 6, 2018For some time, we’ve wanted a mechanism to alert snap publishers to security updates which affect their snaps. All the…
 May 5, 2018With Ubuntu 18.04 Linux, the next long-term support version, coming out shortly, it's time to go over how to upgrade…
 May 4, 2018Bionic Beaver
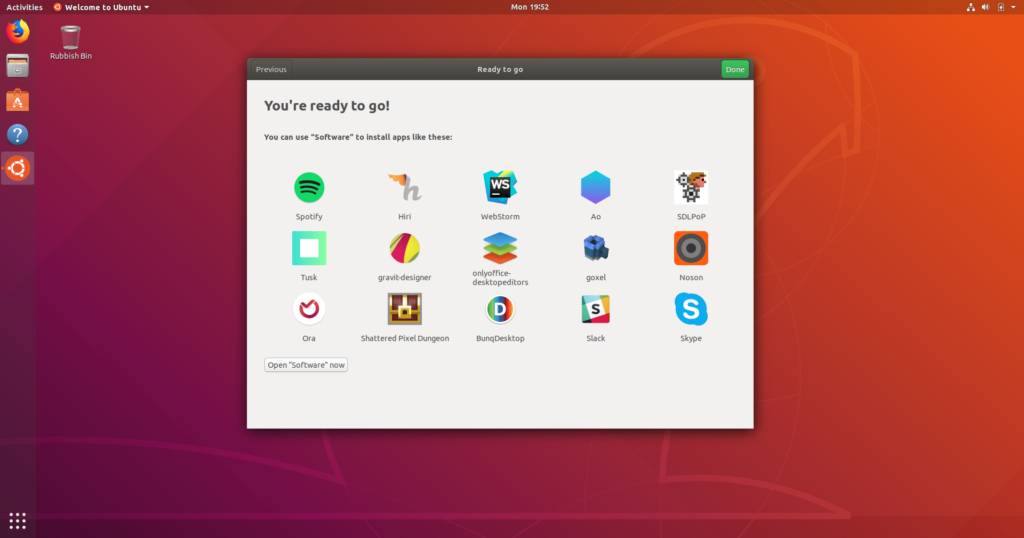
 May 4, 2018The Ubuntu 18.04 release arrived at the end of April and plenty of news coverage was there to greet it.…
 May 1, 2018Click on Icon to Minimize Application Window in Ubuntu 18.04 By Ml, tipsonubuntu.com View Original April 15th, 2018 This quick tutorial shows…
- May 1, 201811 Things To Do After Installing Ubuntu 18.04 LTS By Scott Bouvier, www.omgubuntu.co.uk View Original April 26th, 201 By Scott Bouvier, www.omgubuntu.co.uk View Original…
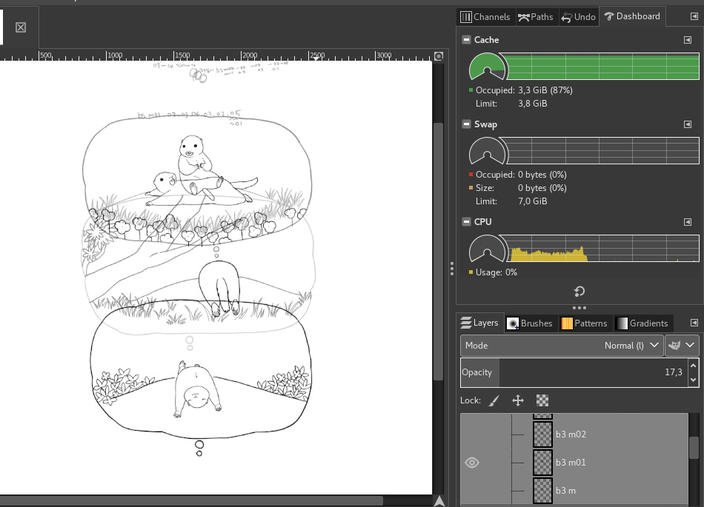
 May 1, 2018GIMP 2.10 Release Candidate Released By Joey Sneddon, www.omgubuntu.co.uk View Original March 27th, 2018 The next big update to GIMP image editor…
 May 1, 2018Audacity 2.2.2 Released with a Stack of New Features & Improvements By Joey Sneddon, www.omgubuntu.co.uk View Original February 23rd, 2018 A…
 May 1, 2018Bleachbit System Cleaner 2.0 Released, First Update in 19 Months If you’re a fan of keeping your Linux system free…