November 21, 20185 Simple Ways To Free Up Space on Ubuntu A bit of maintenance can make heaps more room Scott BouvierUpdated 9…
 October 16, 2018Flatpak is the new way to install and run applications on Linux. Unlike distribution maintained applications, flatpak is a great way to…
 October 16, 2018Written by Martins D. Okoi Nativefier is a CLI tool that easily create a executable desktop application of any website…
 October 2, 2018Oct 1, 2018 23:04 GMT · By Marius Nestor GNOME Project's Abderrahim Kitouni announced today that the latest GNOME 3.30…
 September 21, 2018Objective The objective is to install Paperwork on Ubuntu 18.04 Bionic Beaver Operating System and Software Versions Operating System: - Ubuntu…
 September 21, 2018Encryption is the best way to protect your important documents personal info and other credentials. Suppose, you have a USB…
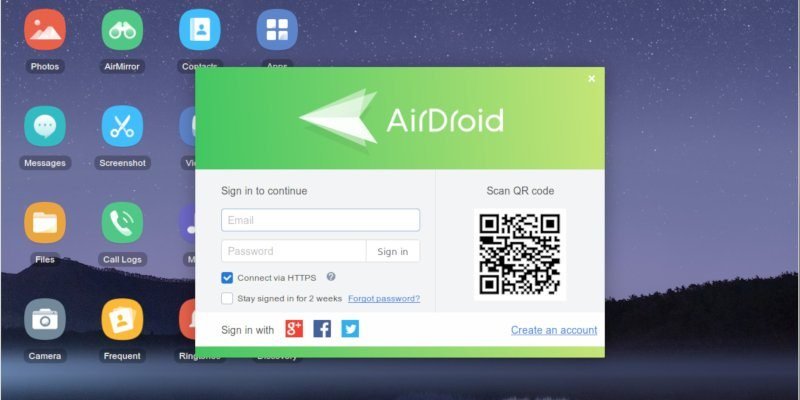
 September 13, 2018Airdroid is a unique and useful application that lets you transfer files, send SMS messages and control your phone through…
 September 10, 2018f you have recently switched from Windows to Linux, you might be missing the catchy themes and the customizable taskbars…
 August 31, 2018This article explains how to transition from having a swap partition to a swap file. If you don't need to…
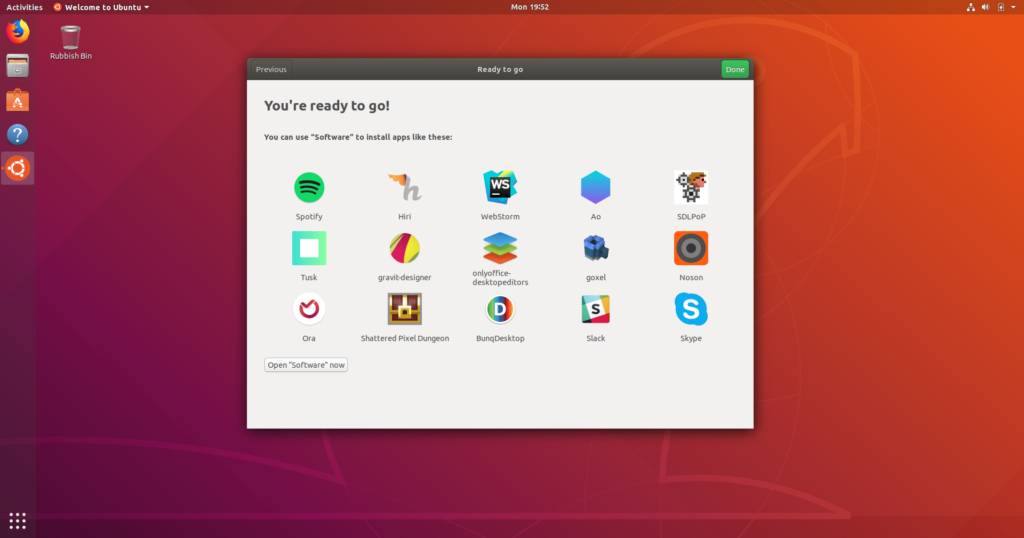
- August 31, 2018From time to time, we need to clear up our system storage to make space for installing new programs and…